How to Paint the Landscape? 7 Secrets to Master Landscape Oil Painting from Beginner to Professional
Birge Harrison
The landscape has been attractive to us (painters and viewers) for centuries.
I realized that painting a landscape is unexpectedly complicated.
That's why I want to share my knowledge of landscape painting with you, so you'll be able to tackle it effortlessly.
Here are the seven top secrets to painting better landscapes.
As long as you consider the points below, even a beginner can paint the desired landscape scenery pretty good.
At first, you'll need some practice, but please trust your process and have tons of fun!
How to paint the landscape? Secret One: Perspective
Anyone who wants to paint a good landscape needs to understand "perspective."
I'll cover
One-point perspective
Two-point perspective and
Three-point perspective here.
Gaze at one point on the horizon at eye level (one-point perspective)
Let's take a look at the scenery at eye level.
If you look straight ahead and concentrate on only one point, that one point is called the "vanishing point."
Therefore, the vanishing point is at the back of the straight road.
If you can find the vanishing point, you are one step closer to improving your landscape painting.
Varnishing point explained
The closer things are on both sides, the bigger they appear.
The farther it is, the smaller it will appear.
Objects are radial from the vanishing point.
Let's take a look at an even simpler square.
a simple square
If you place it at eye level, you will see a flat square.
However, if you place it below eye level, a vanishing point will appear.
You can imagine a wire from the vanishing point, and each line is radial.
When there is an angle from both the left and right (two-point perspective)
The vanishing point is not always one.
We often use a two-point perspective for buildings.
The left and right halves of the building on the corner face different sides.
By understanding this figure above, you'll be able to draw boxes at any eye level.
Feel free to move the vanishing point along the line at eye level and draw a square at any height.
When there are different sides + height (three-point perspective)
The three-point perspective sounds complicated, but don't worry; it's not at all.
In addition to the previous two vanishing points, the third vanishing point will be on the the bottom when you look down.
Where did you place your vanishing points, and how did your box come out?
Understanding this will allow you to draw most things without distortion.
This concept is the shortest way to improve your landscape painting.
I read several books related to perspectives, and this is the best one so far.
Aerial Perspectives
By the way, there's another way to show perspectives by color.
When the distance is further away, the color loses its intensity.
The example below shows that the mountains further away appear airy and light.
In contrast, the foreground appear more vivid.
Color Perspective
In addition, there's another way to express a perspective by color.
I'll explain in another blog, but for now, let's say warm colors make you feel they are closer, but cool colors make you think they are further.
Warm colors include red, yellow, and orange.
Cool colors include blue, green, and purple.
How to paint the landscape? Secret Two: Helpful Tools
You can make these two convenient tools for landscape painting.
Try it yourself to see how you like it.
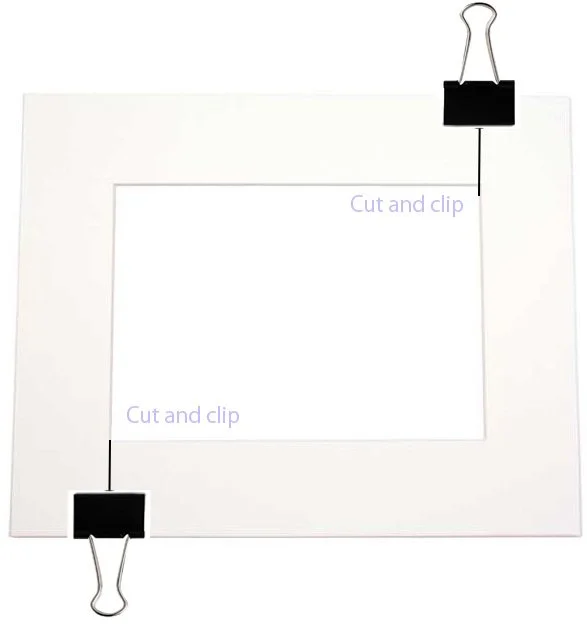
Viewfinder for landscape painting
You can buy it, but it's effortless to make one yourself.
Cut the mat and clipped the top and bottom.
Adjust the view finder's size by the two clips.
Hold your viewfinder in front of you and try to find the composition you like.
Point card with holes for landscape painting
Paint a used point card or credit card in natural grey.
You can paint the card by grey acrylic since it dries much faster than oil.
Or you can add a faster drying medium (e.g. liquin original or neo megilp) to your oil paint.
Once the card dries, punch a couple of holes.
When you see the color through the holes, you'll be surprised how accurately you can read the colors.
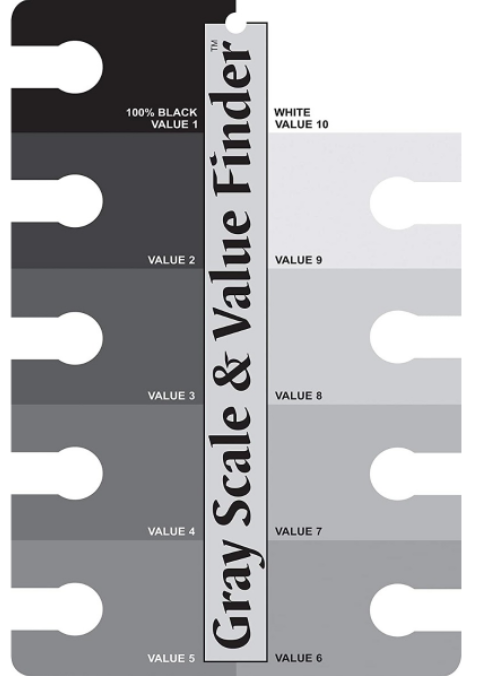
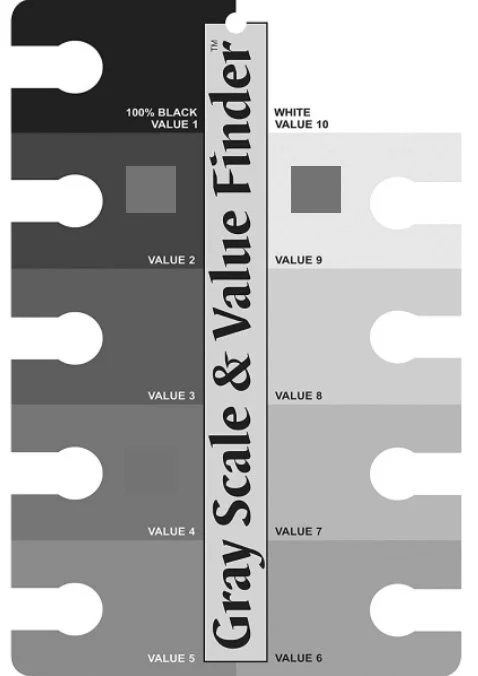
There's another value scale finder that's helpful.
You can buy a ready-made value finder, but it's much more accurate when you make your own because the printed black & white scale can't go as dark as your oil paint.
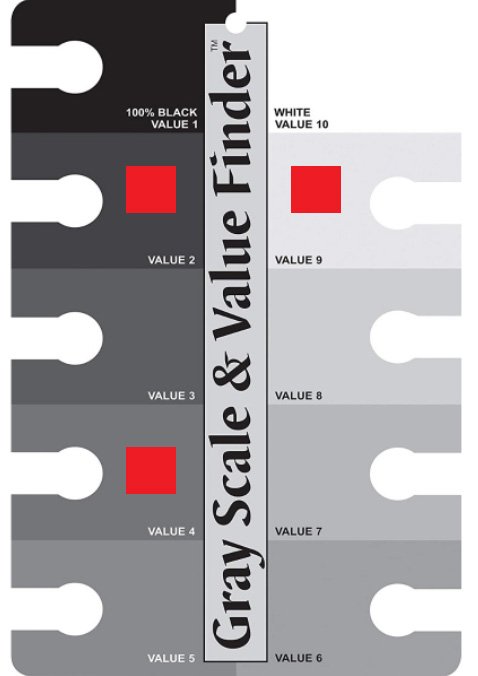
Place a value finder on a table and put a color chip on top of it.
I use red chip as an example here.
All three reds are exactly the same chip.
Do you see the color stands out on a strip of black and white finder?
If the color stands out, the color chip doesn't match the value.
Squint your eyes and if the color disappears, that’s the right value.
If you are not sure, you can use your cell phone to take a photo and change it to black white view to see it clearly.
In this example, the red chip disappears on Value 4.
How to paint the landscape? Secret Three: Composition
JMW Turner's 1817 watercolour Landscape
Composition in landscape painting is similar to the composition part of the music.
As you guessed, the composition is essential for creating a better rhythm.
Where do you want your viewers to see? What do you want to say?
You have to decide before you start painting.
When in doubt, referring to the old masters is very helpful.
If you paint everything with the same importance, it's the same as not saying anything.
It will have the same effect as five children talking to you at once.
Although we can't move around nature like we physically set up a still life, we can reconstruct landscape painting on the canvas.
An eye-catching painting always has a "focal point."
Say what you want to say the loudest is the concept of a focal point.
That's where you want your viewer to look at the longest.
For example, you can put extreme dark and light next to each other.
When the value changes dramatically, human eyes focus there naturally.
The other way is to sharpen the edges.
We tend to focus on crisp, sharp edges naturally.
Next, where is the second area you want people to spend their time looking?
You can use brush strokes and lines to direct your viewer to the next point.
Joseph Mallord William Turner - The Decline of the Carthaginian Empire
In the end, you can find the third point for viewers' eyes to travel.
Ideally, you'll keep the viewer inside your canvas when you connect the primary, secondary, and tertiary points. Or the composition can be a circle.
We tend to prefer triangle or circle compositions.
Try not to add intense colors on the edges of the canvas frame or anything to lead the viewer's eyes outside of your canvas.
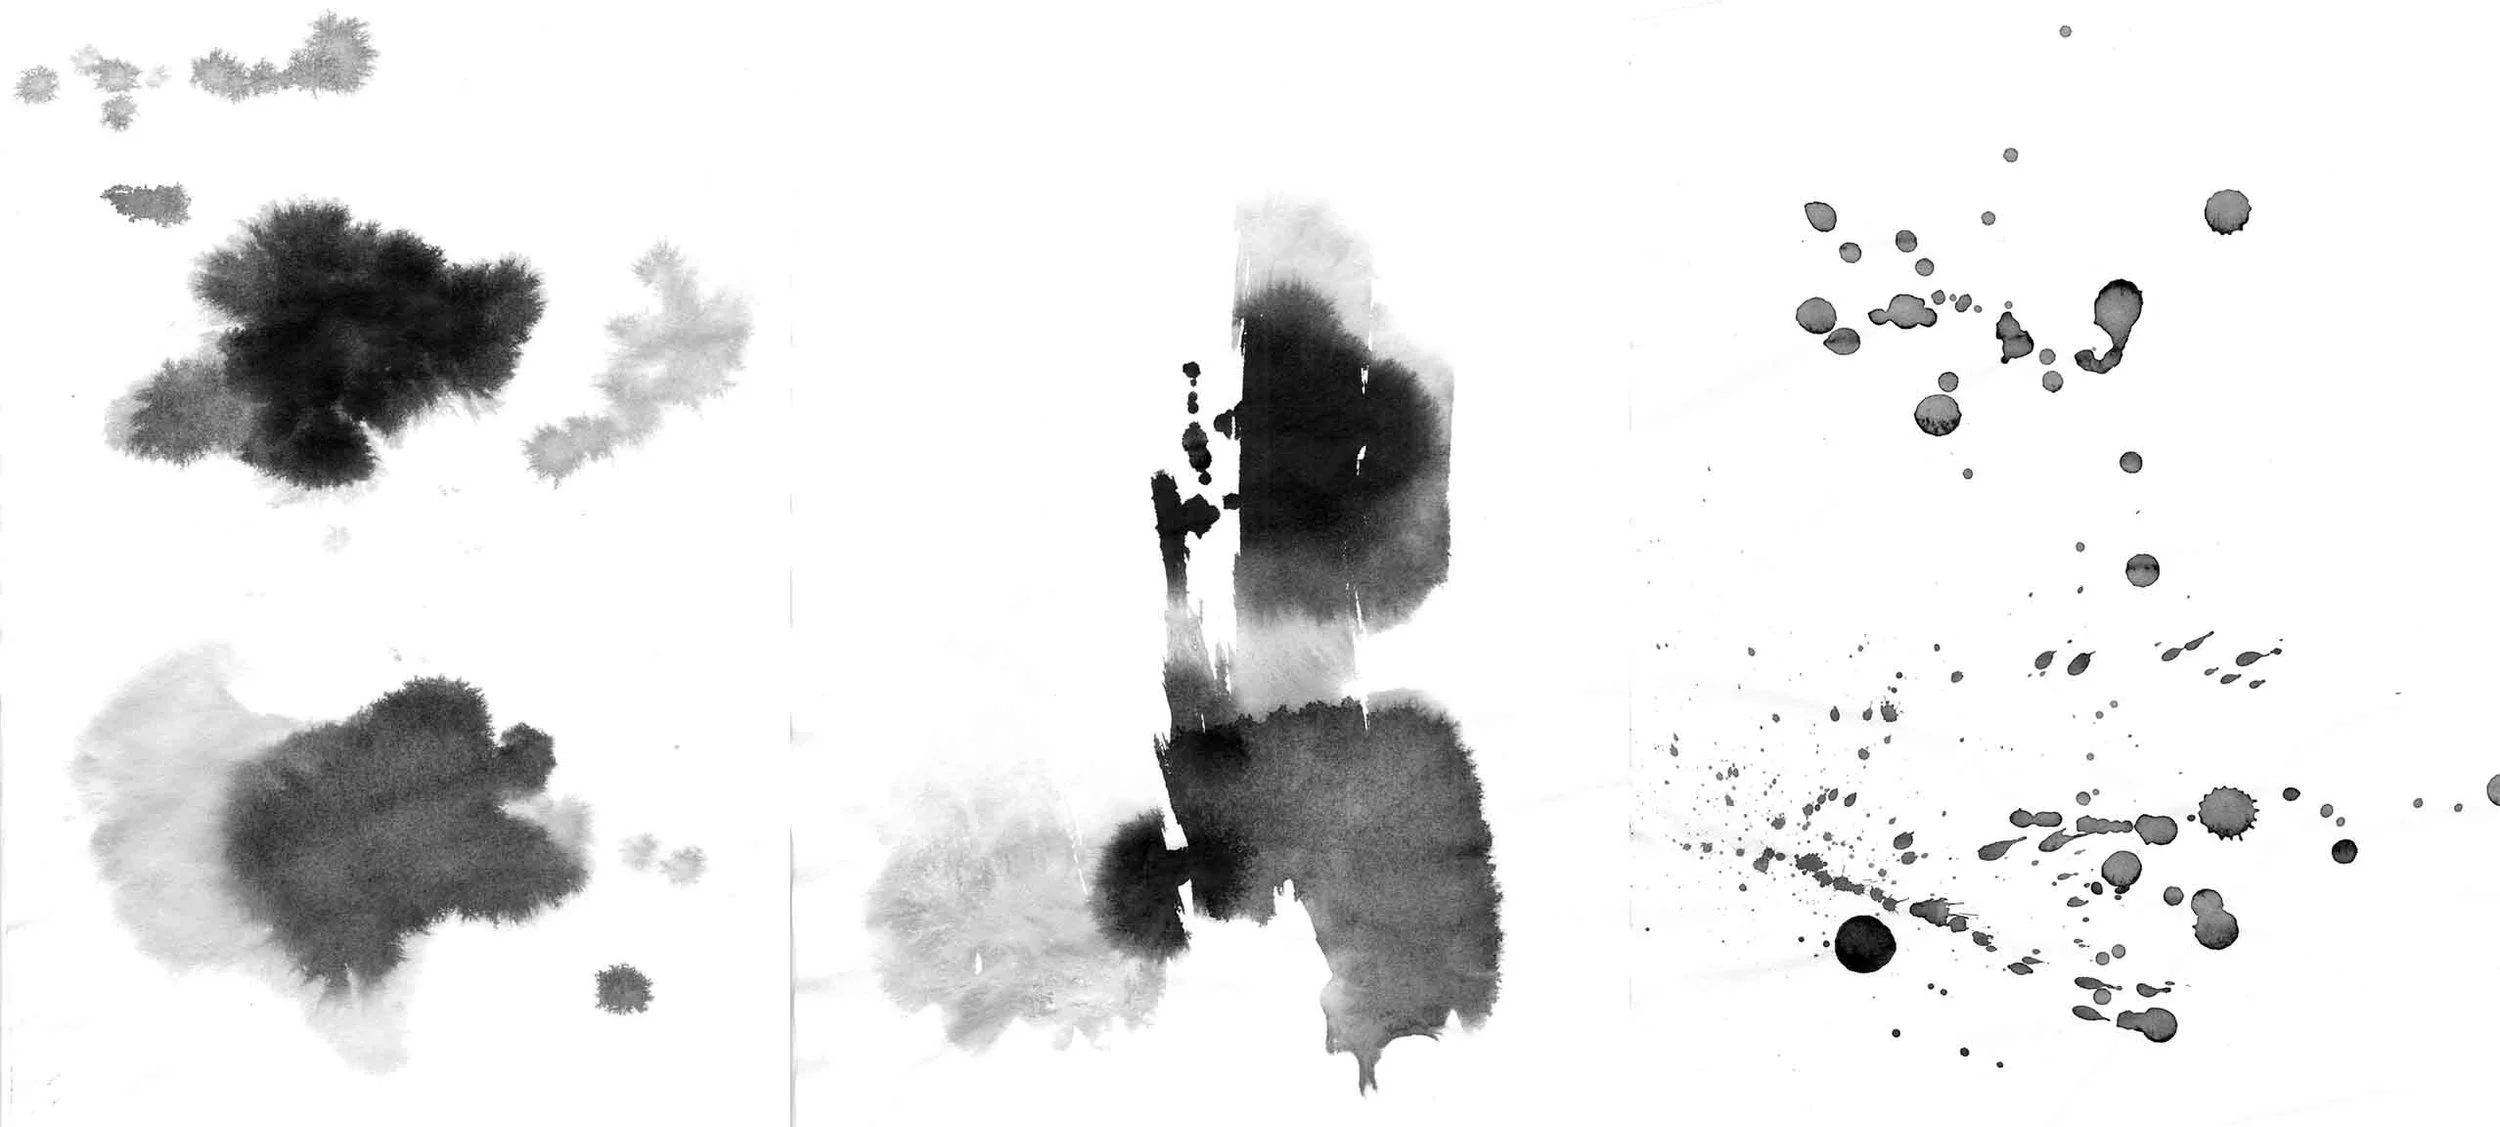
You can practice composition by using black ink on white paper.
This exercise is a fun and straightforward way to see your brush strokes and how you compose.
How to paint the landscape? Secret Four: Notan
Notan (dark and light) takes time to master.
Please don't beat yourself too hard at the beginning stage.
Notan is a potent tool in painting landscapes. (or any other forms of art)
Once you know the trick, you can compose good landscape paintings every single time.
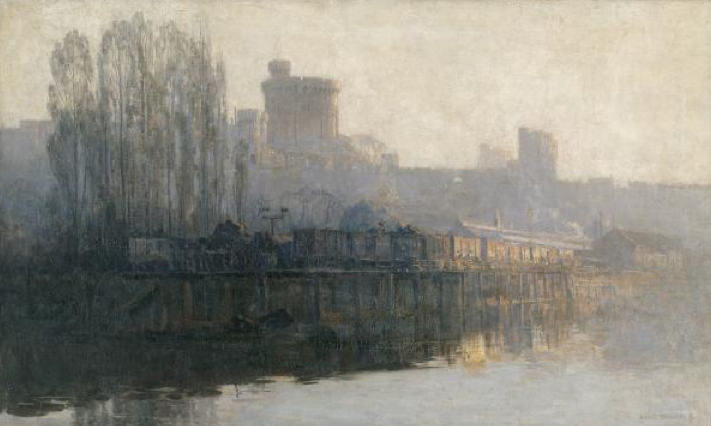
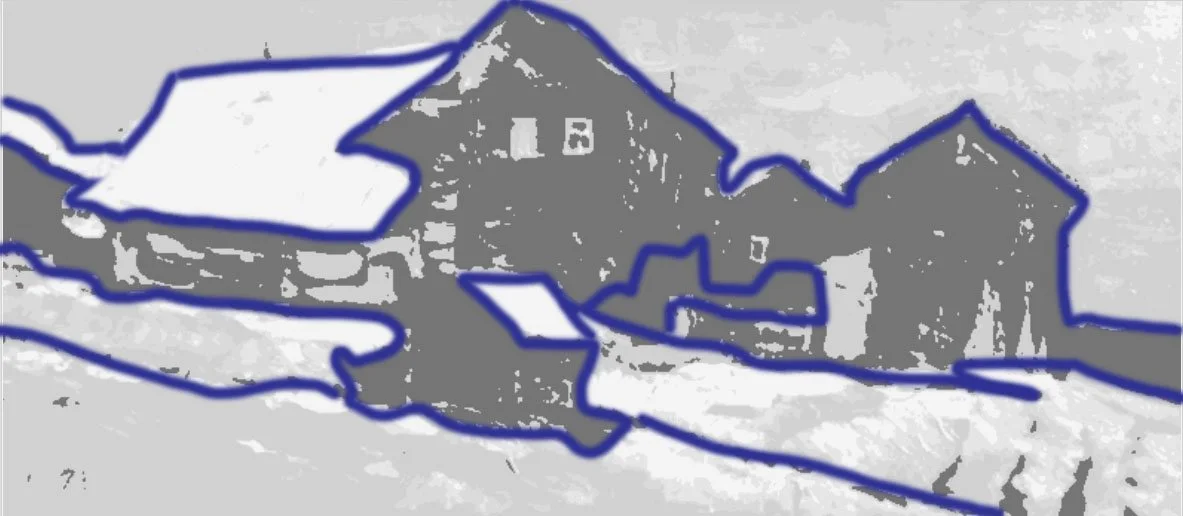
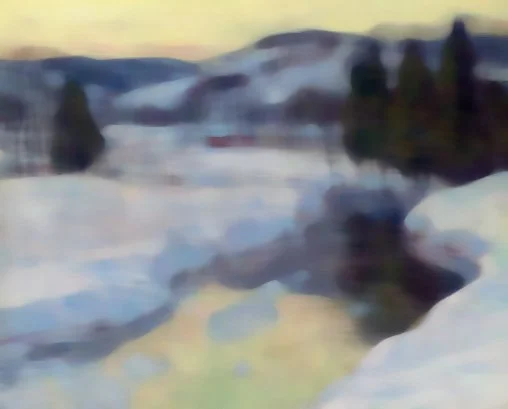
Here is an example painting we are going to work on Notan.
Arthur Streeton
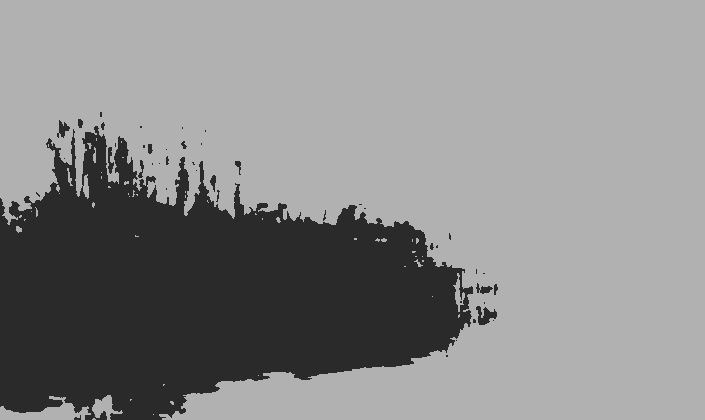
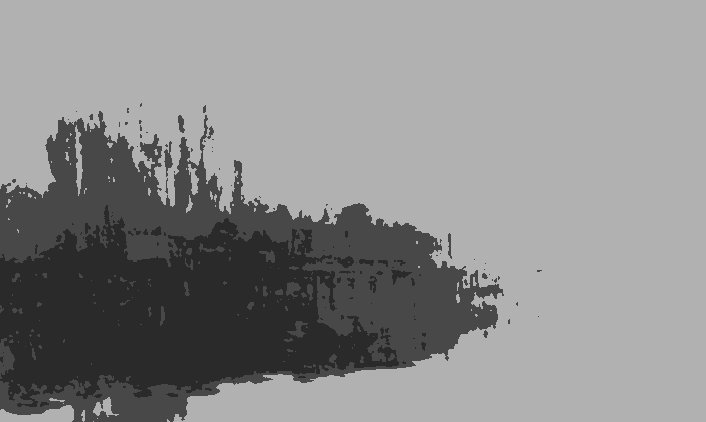
At first, let's practice two-color Notan.
It’s easier to see the photo in black white.
Try not to trace the line of what you are about to draw.
Divide the subject matter by "light" and "shadow."
If possible, group shadows and lights together as much as possible.
We want bigger shapes instead of many small shapes.
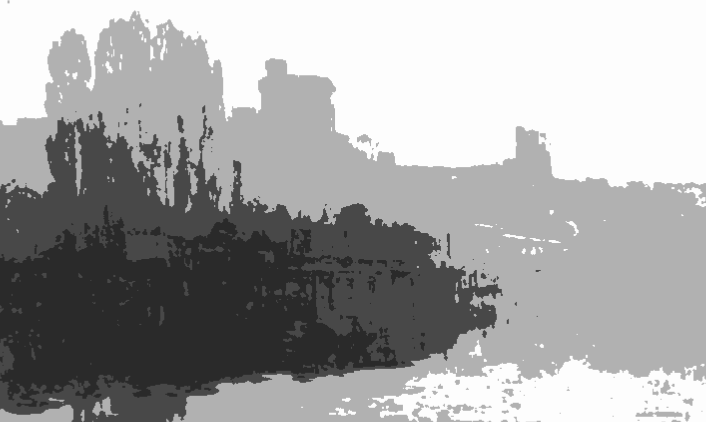
When you mastered two-color Notan, let's try three-color Notan by adding grey.
It's helpful to forget the words "tree" or "mountain" when you paint in Notan style.
We'll use our right brain to recognize what we see as "light shape" because the sun hits this plane.
It's always easier to find light and dark shapes instead of an object by its name.
At the end of the exercise, let's challenge ourselves to make a four-color Notan.
If your four-color Notan doesn't look attractive, adding colors can't help your painting better.
There're no right and wrong answers.
You can try to paint the same subject matter in a couple of different Notan compositions to explore the most pleasing one for you.
How to paint the landscape? Secret Five: Unique Shapes
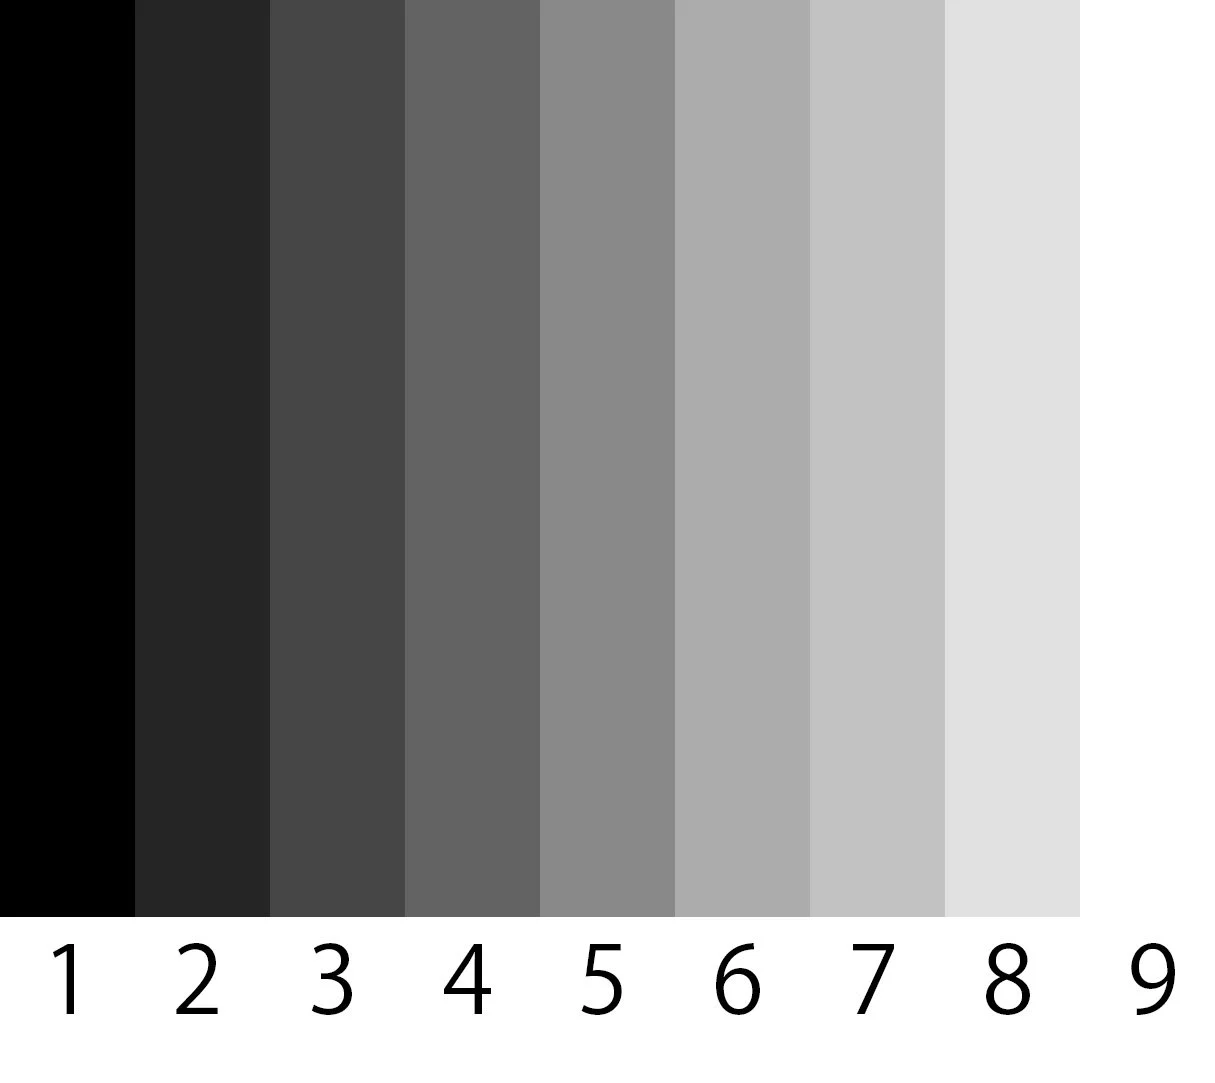
We've talked about value scale.
1 being the darkest and
9 being the lightest.
When you paint landscapes (or any subject matter), find large unique shapes first and then assign a value scale number to each shape.
Please try to make all the shapes different so as not to repeat the same shape.
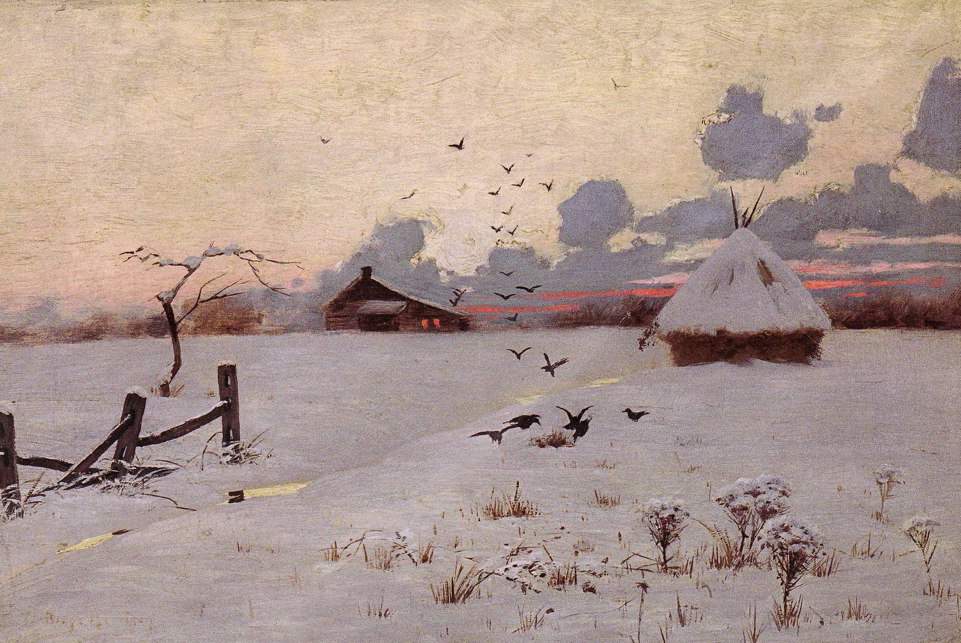
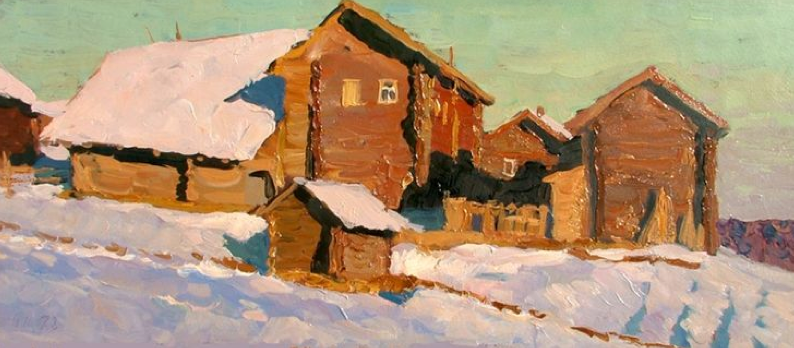
Vladimir F. Stozharov
It is better to have fewer shapes, such as 7 to 12.
The trick is to compare the shapes' lightness and darkness next.
Decide which one is lighter or darker.
Generally speaking, the sky is about value 7.
The shadow fell in value between 1 to 3.
How to paint the landscape? Secret Six: Color Harmony
Color harmony in landscape painting could be complicated.
The method I'm using to simplify is the Munsell Color System.
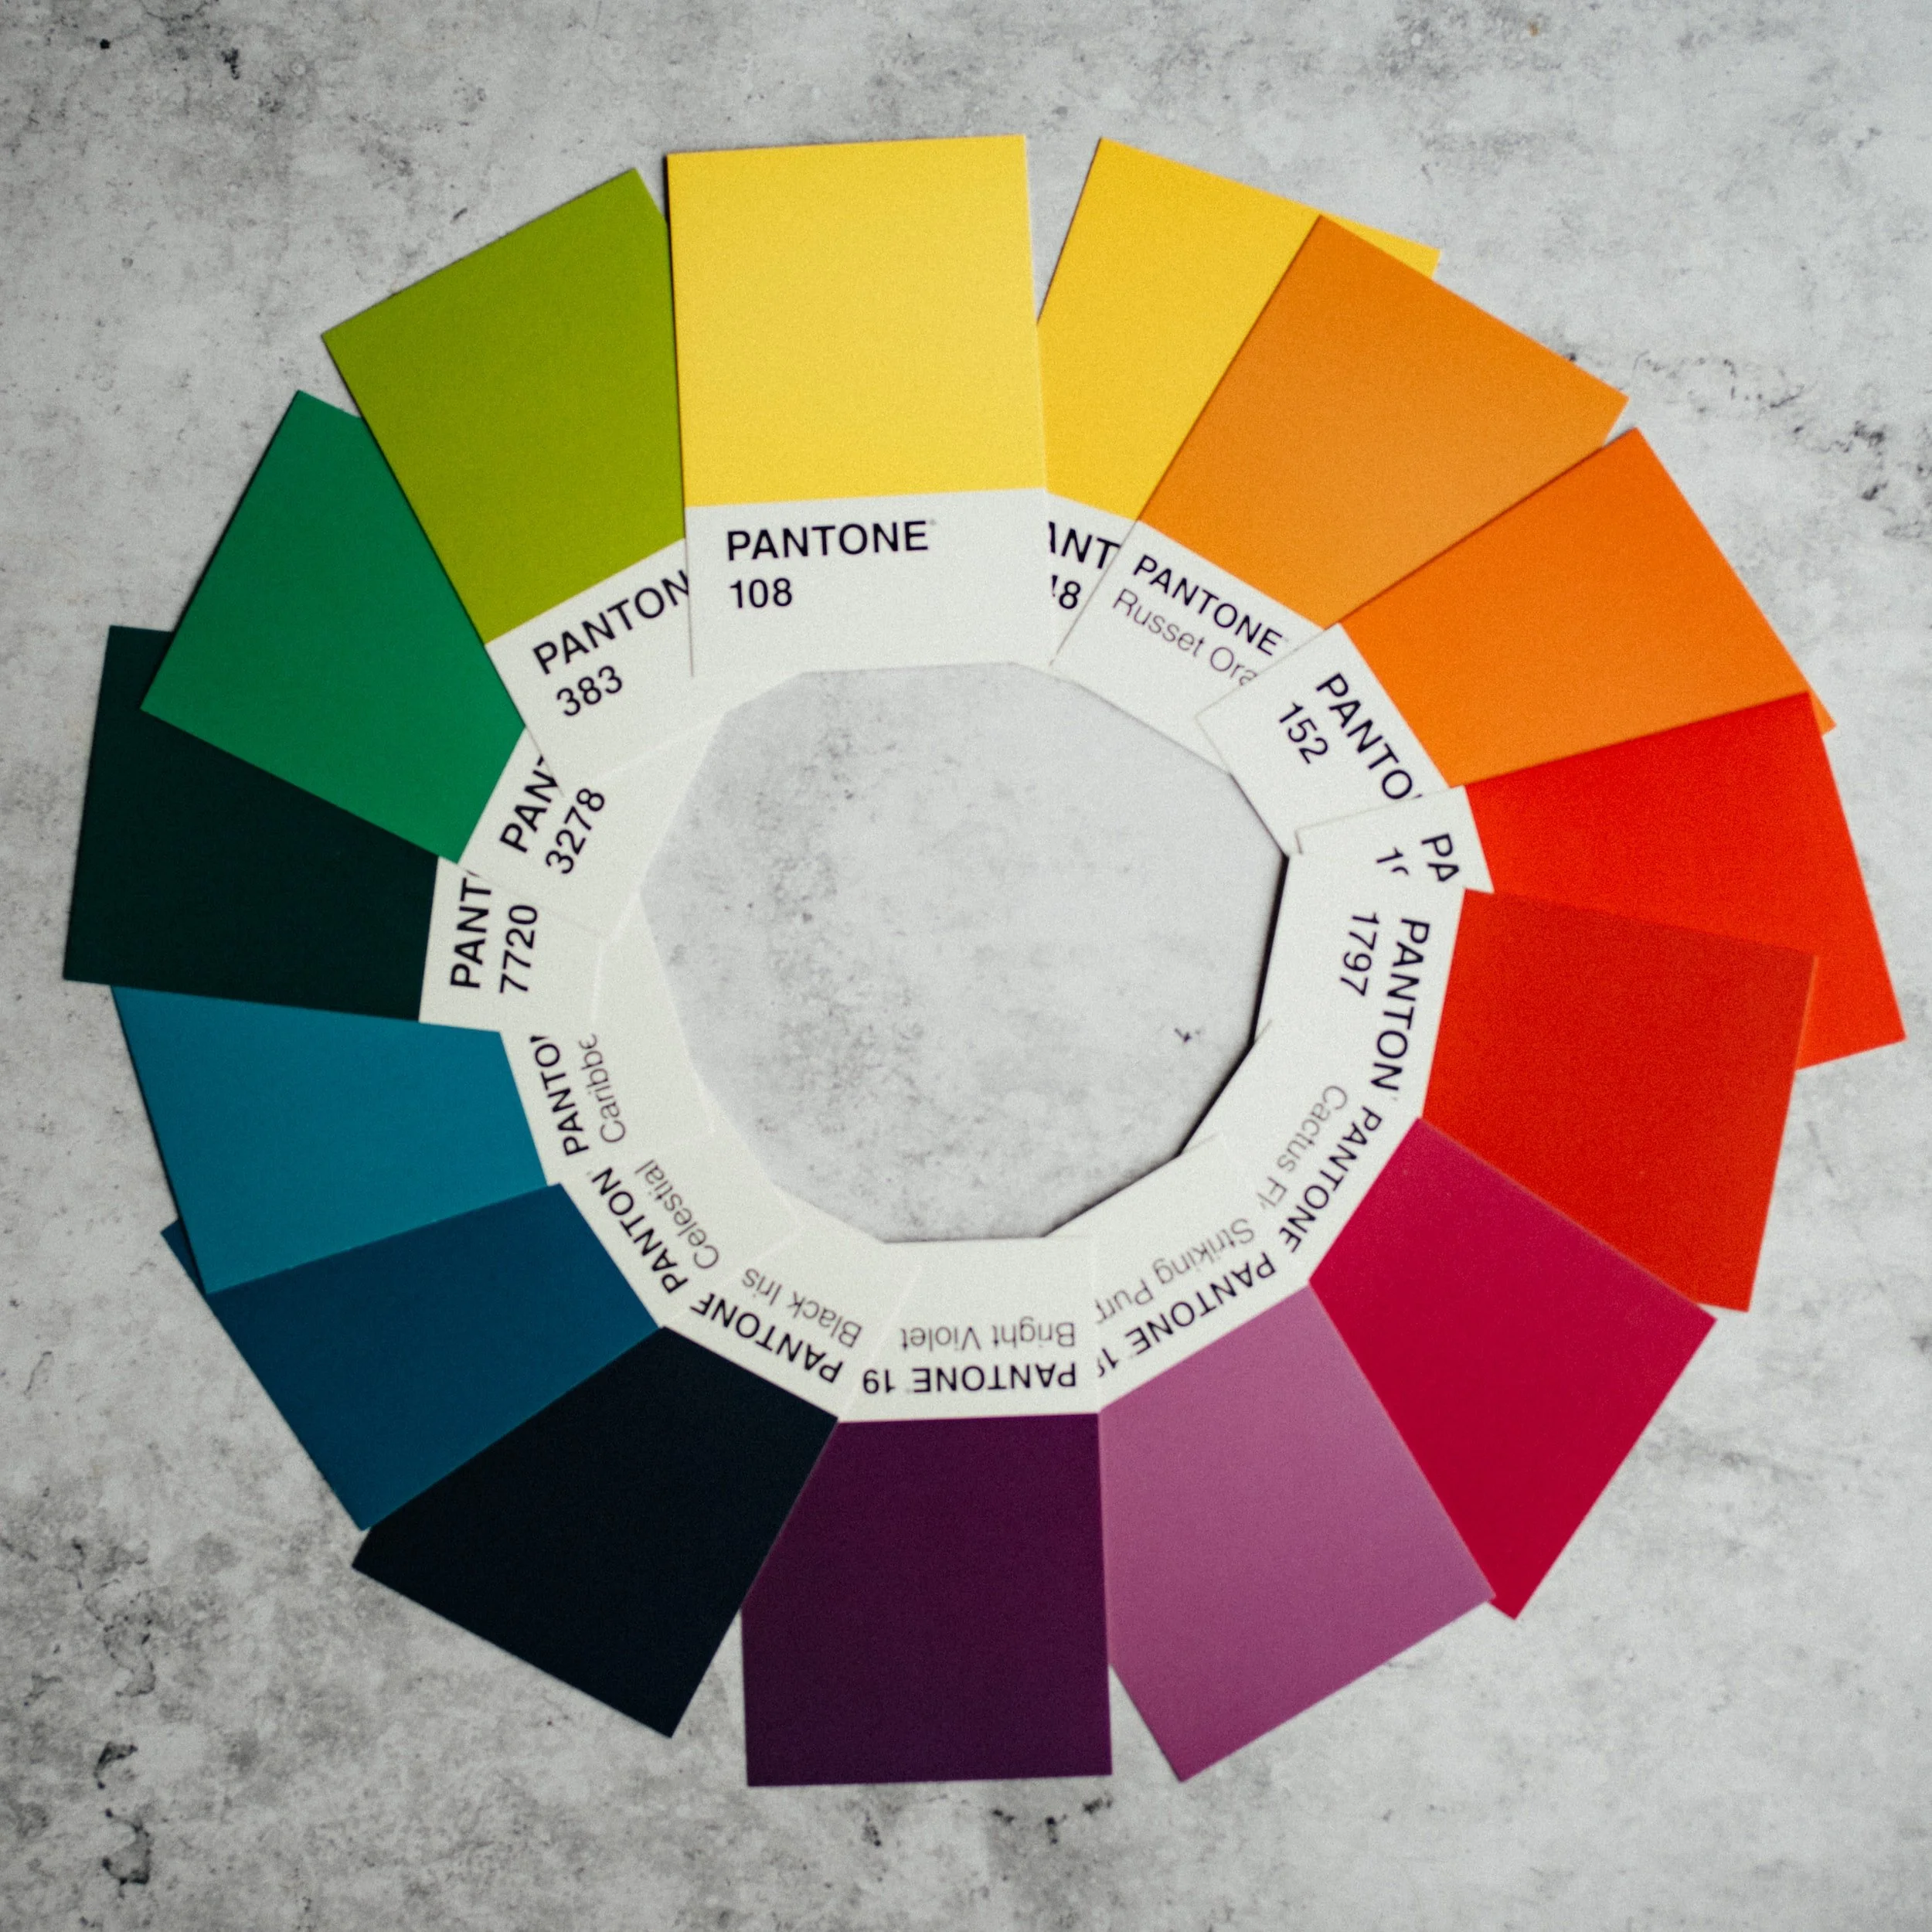
Hue = color
Value = lightness and darkness (see value scale above in Secret Five)
Chroma = intensity
Hue means the name of each color
Chroma: the right one being the most vivid and the left one being the dullest, but they are all the same hue = red.
If you are interested in Munsell Color System, you can buy a book.
Color Harmony
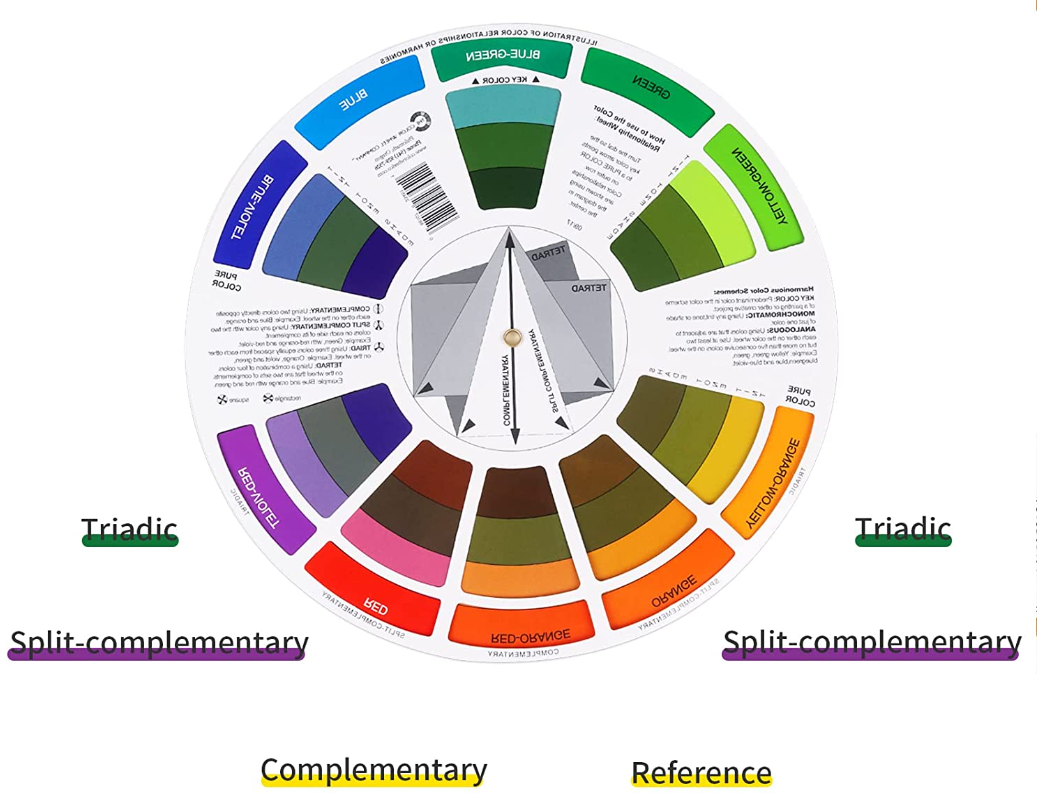
When we talk about color harmony for landscape painting, let's look at a color wheel first.
I'll introduce the four most used color patterns.
Complementary Colors
the opposite colors in the color wheel are attractive.
For example:
Blue - Orange
Red - Green
Yellow - Purple
The farthest colors in the color wheel complement each other.
Analogous Colors
It will be a harmonious painting if you use the colors next to each other.
Yellow - Yellow Orange - Yellow Green
Red - Red Violet - Violet
The colors of the neighbors on a color wheel are harmonious.
Triad Colors
Triad means the colors are in the triangular location on the color wheel.
The primary colors (red, yellow, and blue) fell into this category.
When you turn the color wheel and look from another angle, purple, green, and orange fall into this category.
Tetrad Colors
Tetrad means the colors are in the rectangular location on the color wheel.
For example, purple, blue, yellow, and orange are in this category.
When you mix the four colors, you can make various browns and blacks.
When you use mixed dark colors, your painting will have even more depth.
I recommend you try this method instead of painting just a black or a brown in the shadow.
Color Map
Rather halfway through and then noticing that "the color doesn't look attractive with each other," it's much more efficient to check it before you start a painting.
It doesn’t have to be specific. Just put colors next to each other to see if those are visually attractive.
Having a color map helps save your time.
Adjust till you like it.
George Gardner Symons example for a color map
The color map is crucial when you paint a landscape.
Make sure you always paint a color map on location.
You can take a picture and complete it in the studio, but there is a lot of information lost without a color map because the picture doesn't reflect the correct colors of nature.
While referring to the photos, you can also use the color map drawn at the location to complete the correct value in the studio.
How to paint the landscape? Secret Seven: Intuition
Now you've prepared yourself.
We have done the work of "planning" and "thinking" for the first six steps.
The last step is:
Intuitively paint based on what you've already done.
Planning is essential, but one of the techniques is to use what you have learned freely.
If you're worried all the time when you paint, you'll be stressed out rather than having fun painting.
Since you've prepared everything in advance, try to have fun now!
You will be surprised how much better your landscape painting becomes by using these seven steps for each of your paintings.
Students don’t know the secrets need to paint 100 times to get better, you'll be able to see the improvement after your 10th painting.

