7 Oil Painting Tips and 3 Basic Knowledge to Improve Your Skills
Painting knowledge to become a professional
Painting knowledge to become a professional
When we see your paintings getting better day by day, happiness increases while you paint.
But, some people may wonder, how do we get better?
If you've tried many options, but none of them worked, this blog is for you.
By understanding the 7 oil painting tips, you can become a long-lasting and robust painter.
On the other hand, understanding the 3 basic knowledge, you can become a painter who gets better without wasting any effort.
Knowledge of painting is power.
As in a soccer game, if you do not have fundamental physical strength, no matter how good you are at carrying the ball, it is meaningless because you'll be tired in 10 minutes.
This truth may not be what you want to hear, but I still need to tell you for you to get better…
Basic skills are the foundation for everything, and it is an indispensable lesson for those who want to grow in the future.
Oil Painting Tip 1: Set a Goal
The bigger the goal, the better!
Even if it doesn't reach the moon, it's better to fall and land on the clouds.
Large Goals
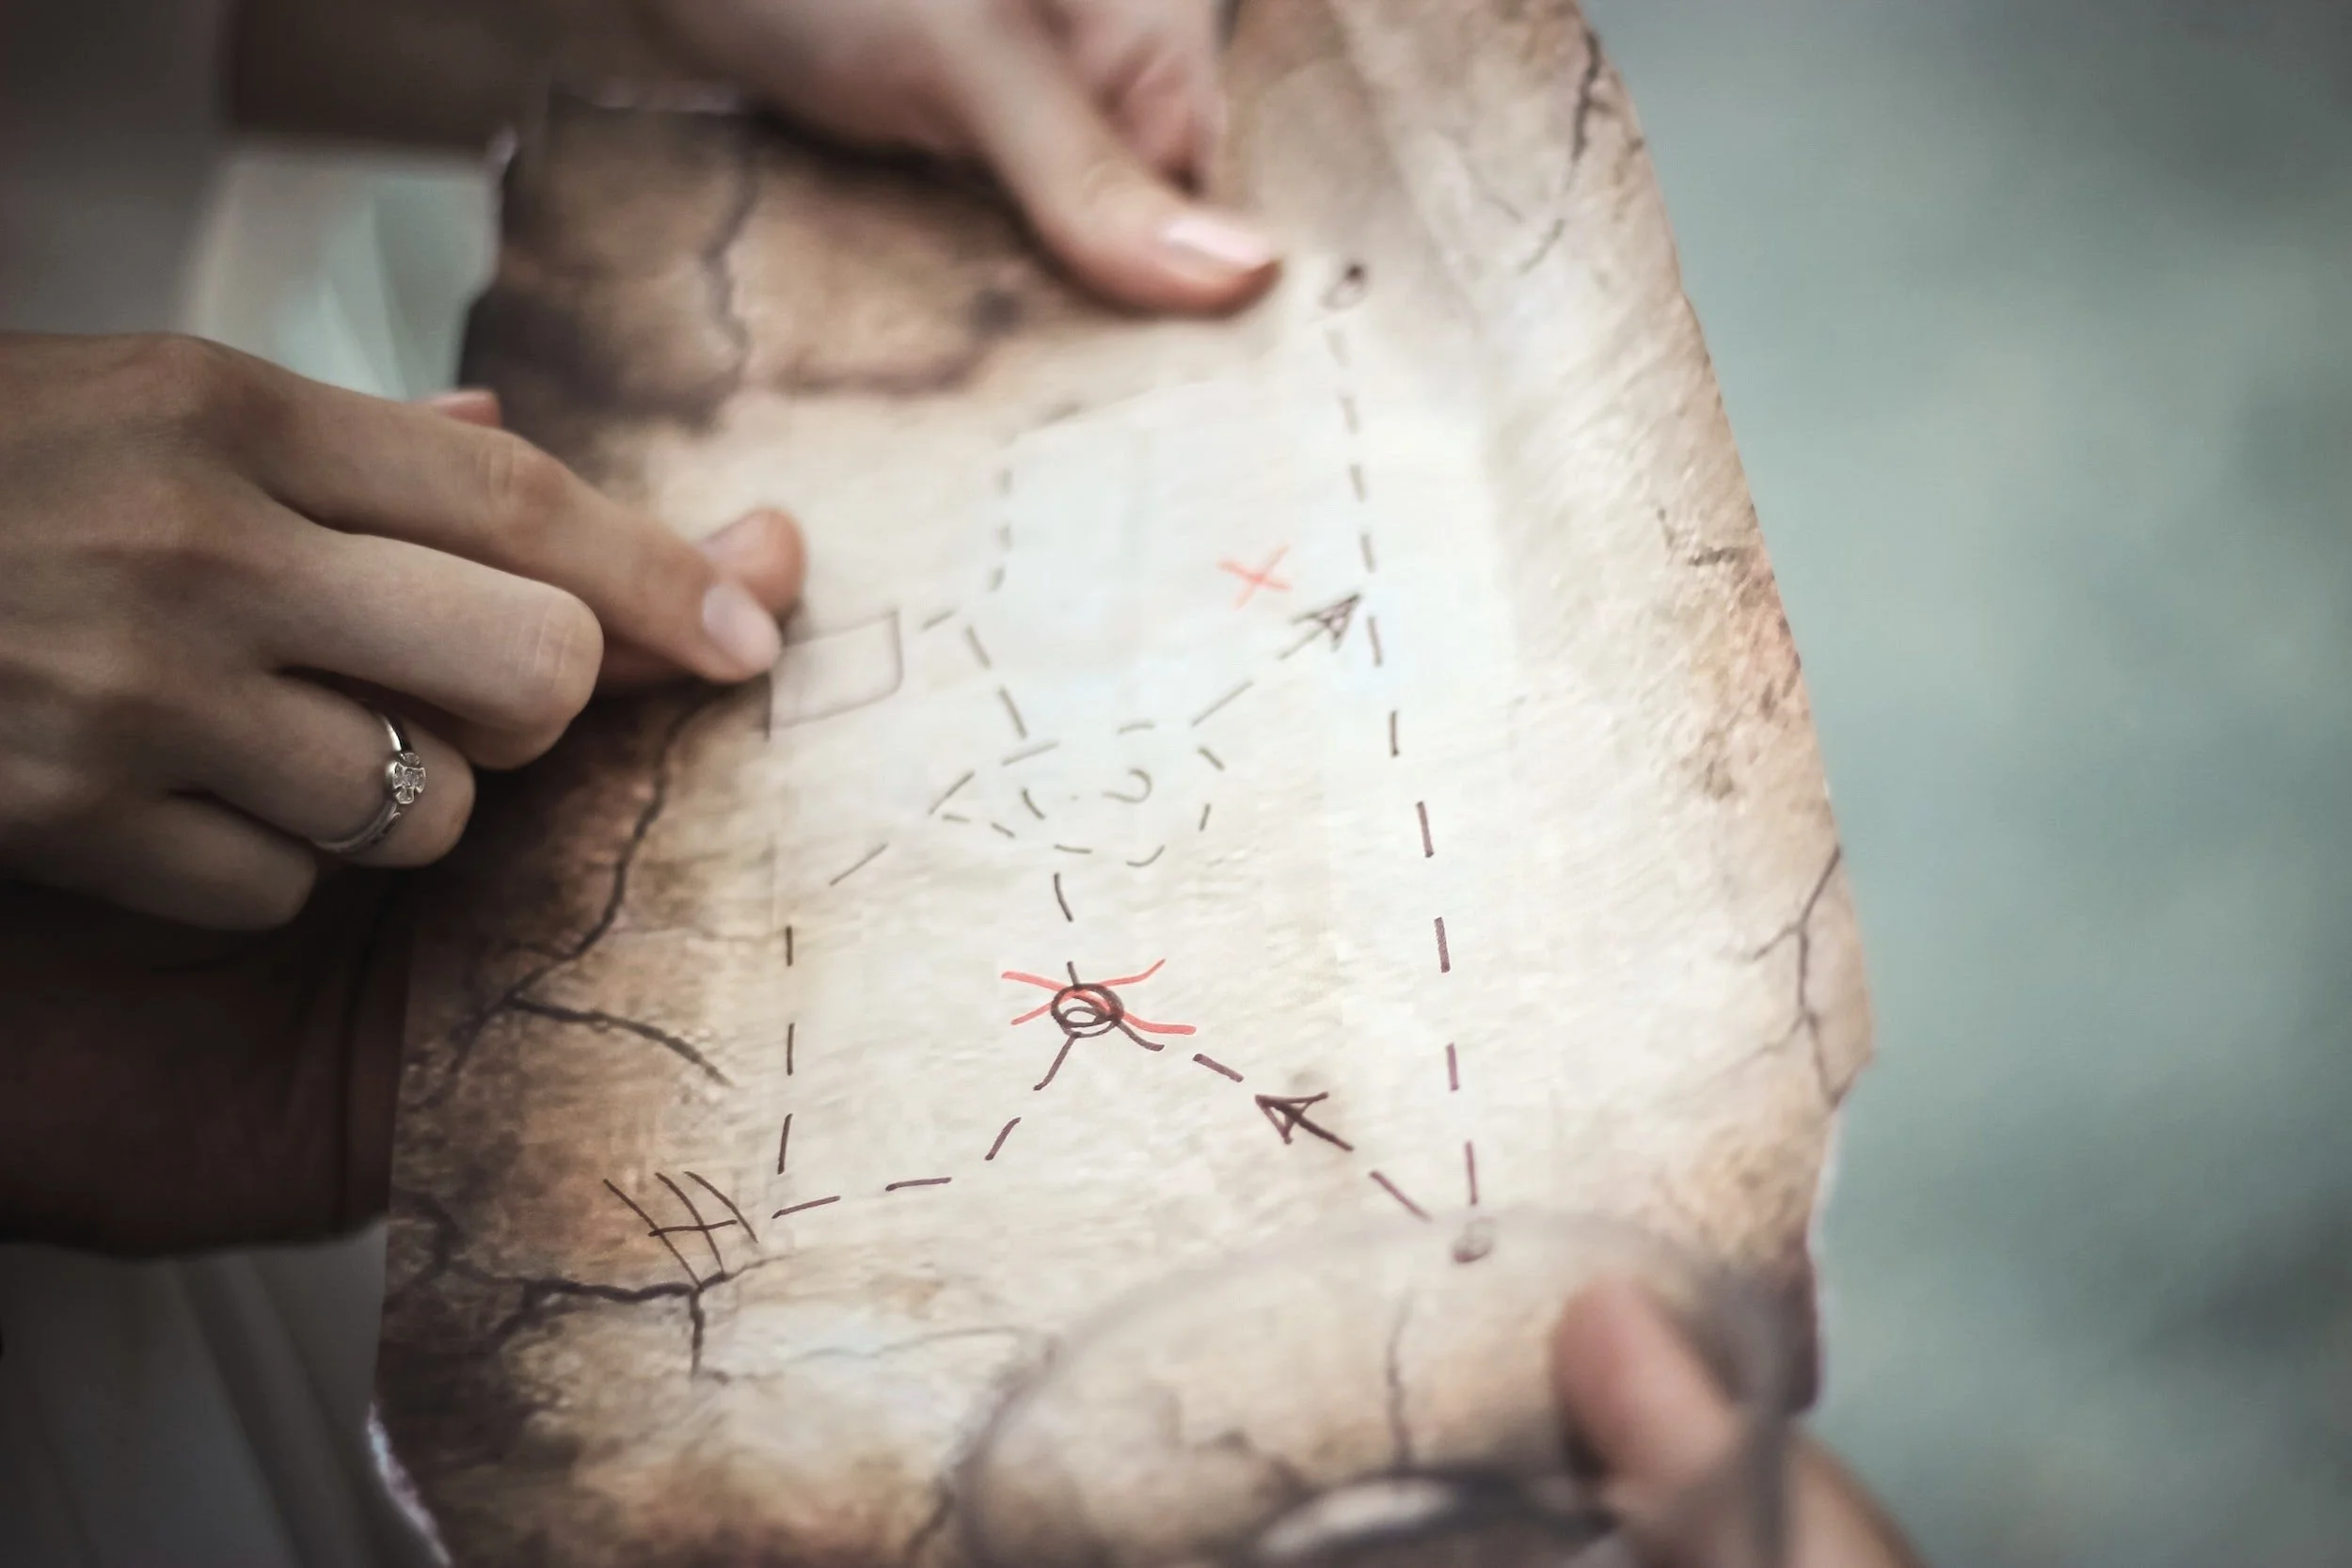
The goal is like a map. If you don't know where you want to go, you can't get anywhere.
So, make up your mind and set the destination.
By the way, you can change your destination any time you want.
That's why I don't want you to worry about spending days at this stage.
For the time being, what do you want your future to be like now?
Medium Goals
However, having one big goal is not practical.
Therefore it's easier to break it down to reachable medium goals.
Don't also forget to set a rewarding system whenever you achieve one.
For example, I display my dreams on a board so that I can read them daily.
Try to do a couple of things excellent instead of doing 100 things mediocrely.
So having one to three big goals is recommended.
In addition, it would be nice to have 3 to 5 intermediate goals for each big goal.
Small Goals
Finally, what steps should you take to reach your intermediate goals, step by step?
That "step by step" is a small goal.
Pick three things that are most important each week.
Anything that you want to finish up or have to contribute to reaching the medium goal eventually.
I use this planner to manage my schedule.
Oil Painting Tip 2: Find a Mentor
The old masters have already made mistakes that beginners all tend to make.
So the quickest way is to ask someone who has experience.
They have already walked the path of beginners, failing where everyone fails, stumbling where everybody finds it difficult,
and telling their students the essentials of learning oil painting.
Even with the direction from the mentors, students will make detours.
However, the mentor can guide you on the right path when you go off track.
When choosing a mentor, the most critical point should be the "aesthetic framework."
It would be best for you to find the artist's painting style is what you want.
It's ideal to be able to ask for advice periodically on a one-on-one basis.
Interacting with mentors is vital either online or locally.
The ideal relationship between a student and a mentor is respecting but eventually becoming friends.
Oil Painting Tip 3: Quantity Wins
Paint anyway!
A person who reads a book and paints a hundred times will become better faster than a person who reads 100 books and paint one artwork.
The priority is always to paint.
Once the goal related to painting is completed, you can start t work on other goals.
On the other hand, many people are on a journey to find a unique style, but I don't think beginners should explore their style early.
If you search for a unique style before you learn painting skills, you'll end up with awkward results.
So there's lots more harm and benefits.
When you start playing the piano, practicing the scores written by a musician is typical.
At the same time, just like starting the piano, painting also needs to follow the master's copy.
Besides, your style is like a fingerprint.
After the foundation is solid, you will slowly develop your painting style later on.
Oil Painting Tip 4: Paint Every Motif
If you just started out, try to paint anything that interests you!
Many professional painters specialize in a specific subject matter such as flowers, cats, or clouds, but in the beginning, experiencing all sorts of motifs such as still life, landscape, and portraits is an essential part of the journey.
If you don't try, you can only imagine what you like or don't like.
You may think, "I'm not good at figure painting."
While painting, you may find a brand new area that strikes your heart.
So please explore all the possibilities.
Furthermore, each motif has its difficulties, and by overcoming each one, you'll gain comprehensive technical skills.
When you wonder what you should paint today, paint whatever is in front of you. Because "starting" is the key.
If you paint a hundred still-life artworks in the correct way, you can get a feel for it.
That's the same for landscapes or portraits as well.
Please remember painting in your way will hinder growth in the future.
The fastest way to improve is to take the steps you've learned so far and paint while analyzing.
Analyze the first 9 paintings, and paint the 10th one instinctively.
You'll be able to see how much you've learned.
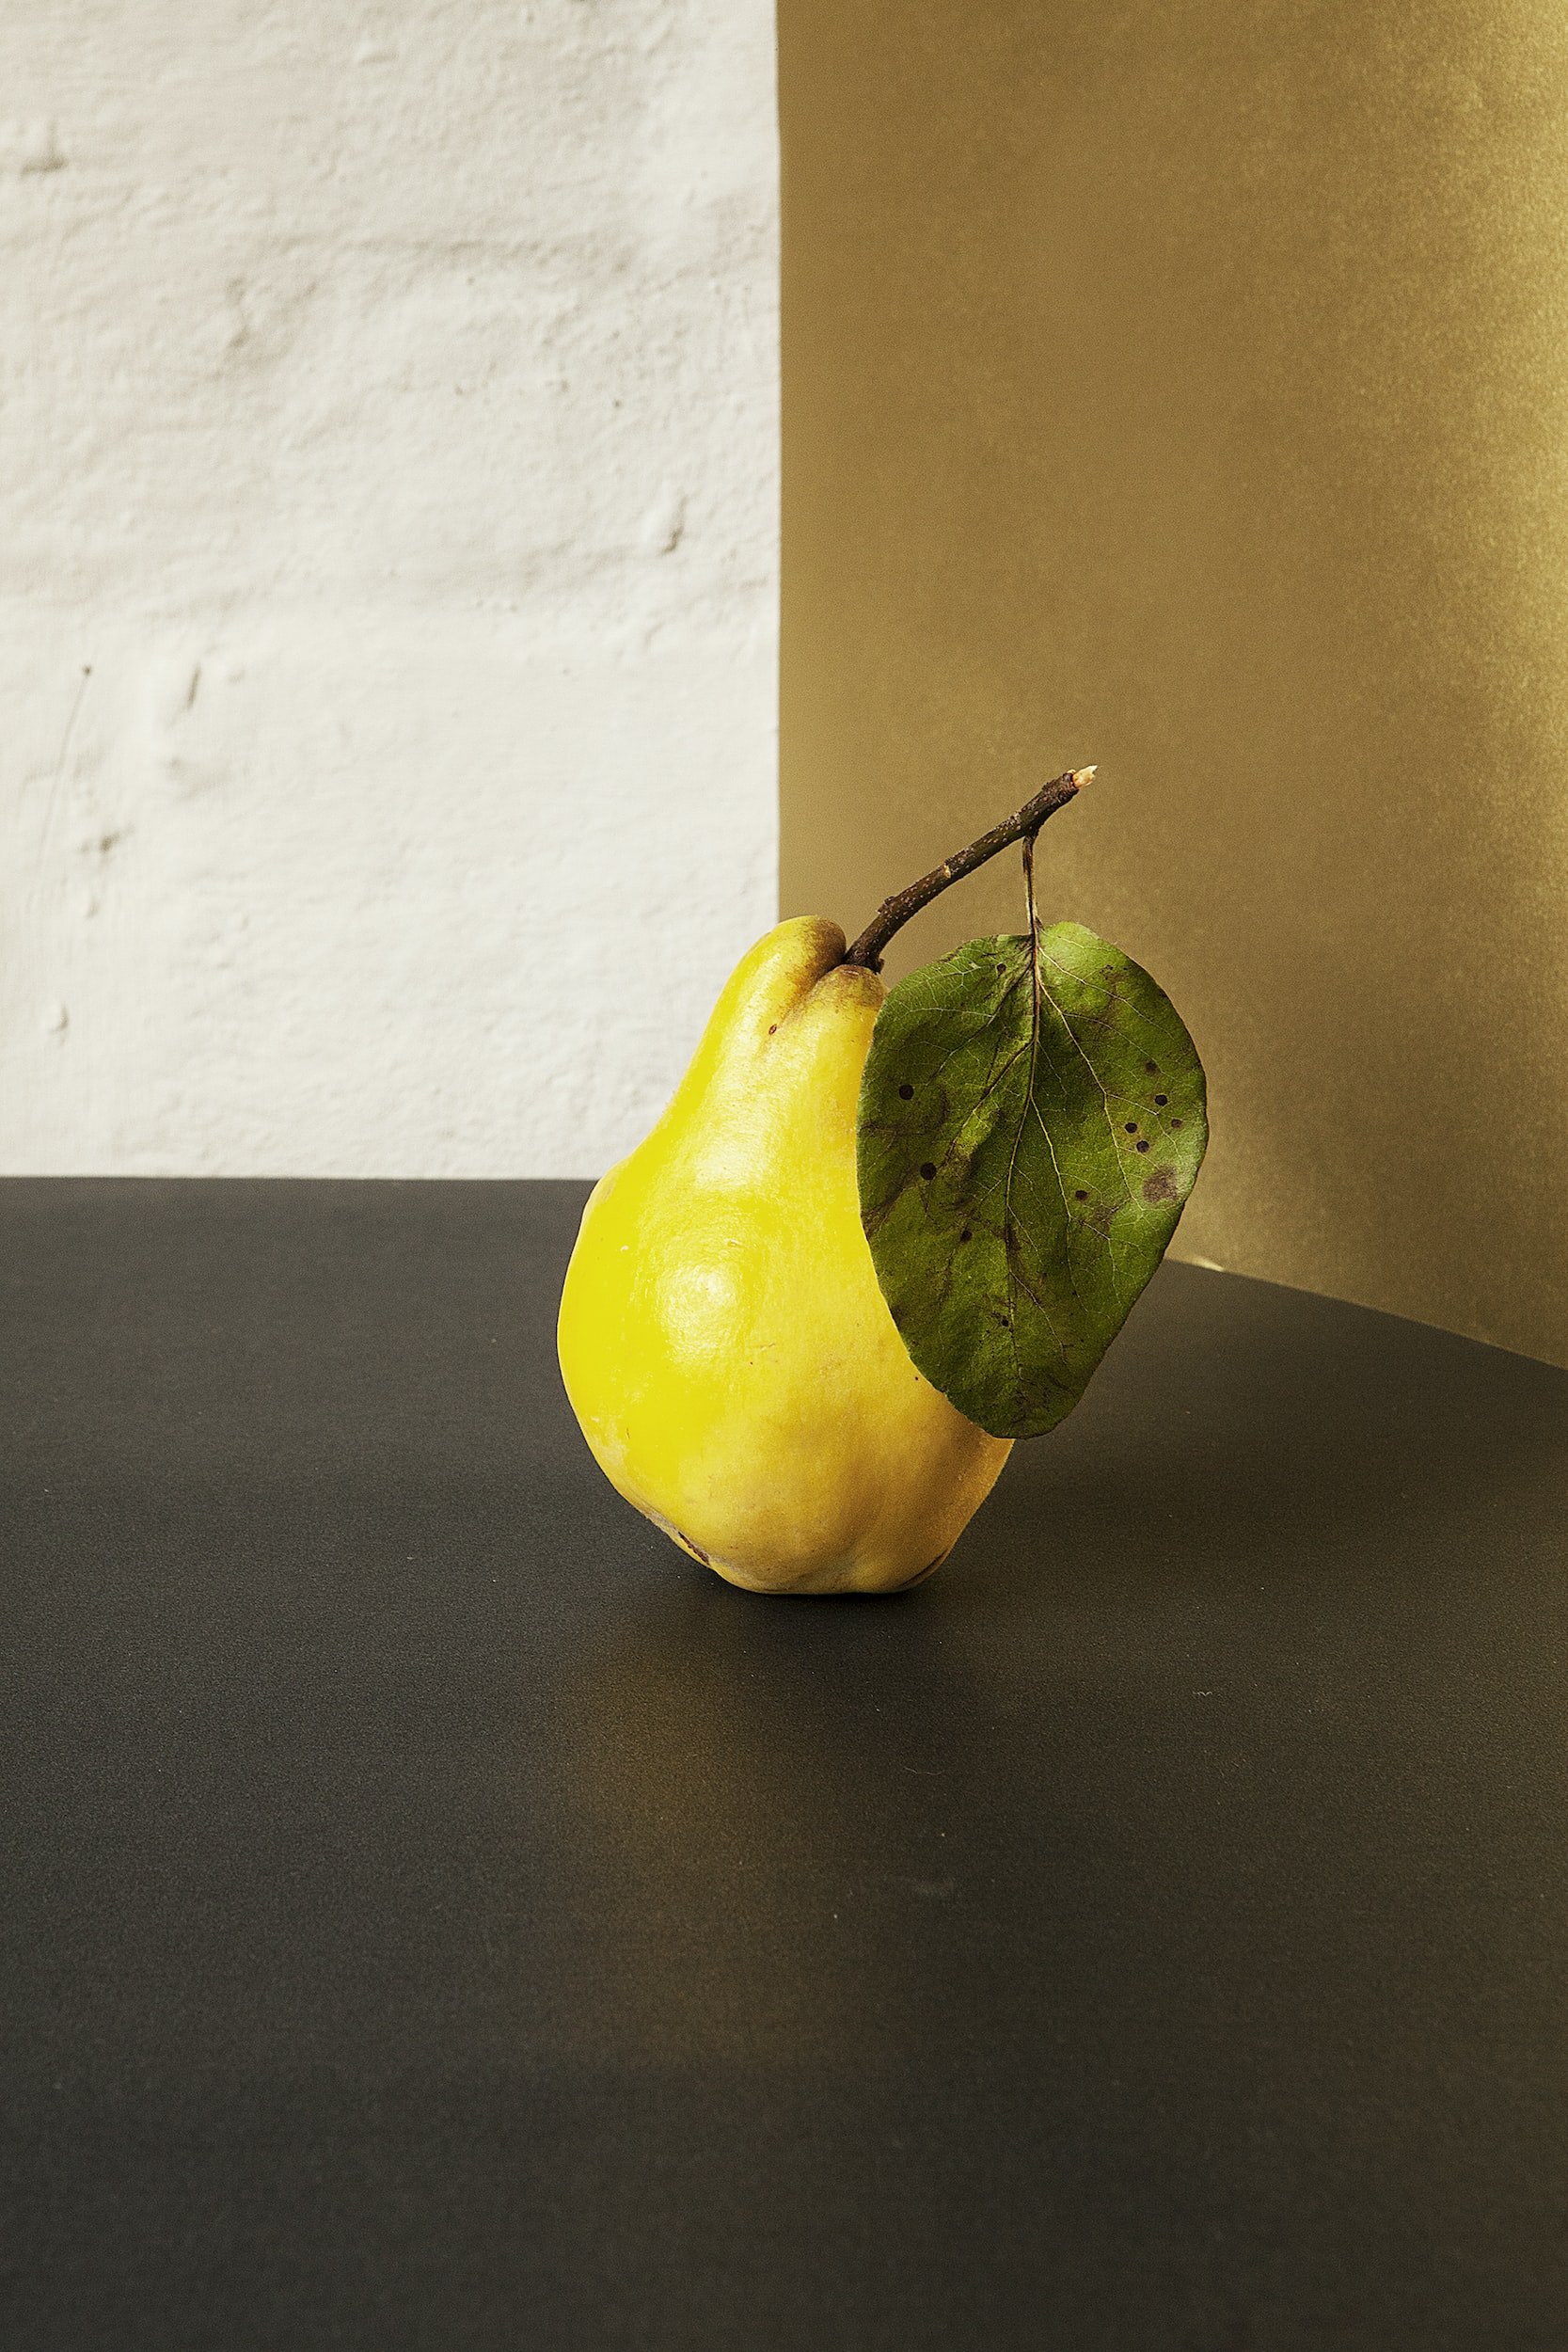
If you are new to oil painting, starting with still life is a good idea.
Because still life is best to learn the composition.
At the same time, you can adjust the lighting yourself.
On the contrary, nature determines the lighting situation in a landspace setting.
Though you can apply the composition skills learned from skill life painting such as moving the trees closer or adding a bridge as a focal point.
Oil Painting Tip 5: Don't Lose your Curiosity
Always ask, "why?" because you'll want to study more by being curious.
Challenge yourself
All you have to do is try something new and completely different.
For example, you should add a color you've never used before to your usual palette.
That color might give you extraordinary results or make you enjoy the new effects.
Of course, the experiment could end up with a failure, but you'll surely learn a lot.
If you are a painter who only uses brushes, try finishing the painting with a painting knife.
If you always paint in one session, wait until each layer drys and keep adding new ones.
If you always transfer the sketch to the canvas, try drawing with paint without any sketch line.
You will be amazed at the results when you enjoy all the choices.
By the way, I purchase art supplies mainly from Dickblick and Rosemary and Co.
Invest in yourself
You'll never regret investing in yourself at any stage of your life.
There is a lot of good information on the internet nowadays, without having to pay honestly.
However, it takes a lot of research time to distinguish between excellent and wasteful information.
Especially when you are a beginner, there's no way to tell between the two.
Self-investment is essential to improving your skills in terms of saving time and getting credible knowledge.
Oil Painting Tip 6: Don't Compare Yourself to Others
You don't have enemies in this world.
There's nothing for you to compare, dear.
If you have a competitive personality, try to compete with yesterday's yourself.
Did you learn something new today than you did yesterday?
Did you make efforts to get closer to your dream even one step closer today?
People say "just believe in yourself!" all the time, but it's not that easy.
We doubt our artworks from time to time.
There will be days you get frustrated or run into a complex problem.
All you need to do is don't think but do the work.
While you're worried, you are in the deep forest mentally.
So the only way out is to push yourself, walking forward.
As if to shake off all the doubts, paint, paint, and paint, you have escaped from the deep forest when you notice.
It would be best if you were willing to learn from others who can paint your desired style better than you.
When I was only in the first year of painting, my artworks proved that I wasn't good at painting.
But the importance is the journey to becoming a better painter starting from where you are.
I started to paint more when I realized that I was accusing myself of using my first-year artworks. That's just nonsense.
Whenever I want to be creative, this is the book I read.
Oil Painting Tip 7: Take Breaks
If you stumble, the best way is to take a lot of rest.
Eat delicious food, do what you love, and go to bed early.
If you owe a winning racing horse, you'll probably feed it with nutritious food, give plenty of time for it to rest, and then provide intensive training by the next race.
Remember, health ultimately leads to efficiency.
You've probably heard students who slept the night properly before the exam scored better than students who studied all night because the brain organizes the learned contents during sleep.
The same is true for artists.
It is also essential to have a focusing time and break intervals.
There must be so many painters who love painting so much that they can face the canvas for dozens of hours.
But considering the brain's efficiency, taking a 20-minute break every 90 minutes is the most refreshing and effective way.
Sometimes, I don't realize that hours have passed.
That's why I started to set the alarm every 90 minutes recently.
Basic Knowledge 1: Sketch
Draw as many sketches as possible
Why do I talk about sketches at this time? Because sketch is equivalent to a baby's crawling.
If you can't crawl, you can't walk or jump.
The baby stands up and falls but tries to stand up again and again.
After repeating it thousands of times, they can finally walk, and you can finally make a good sketch.
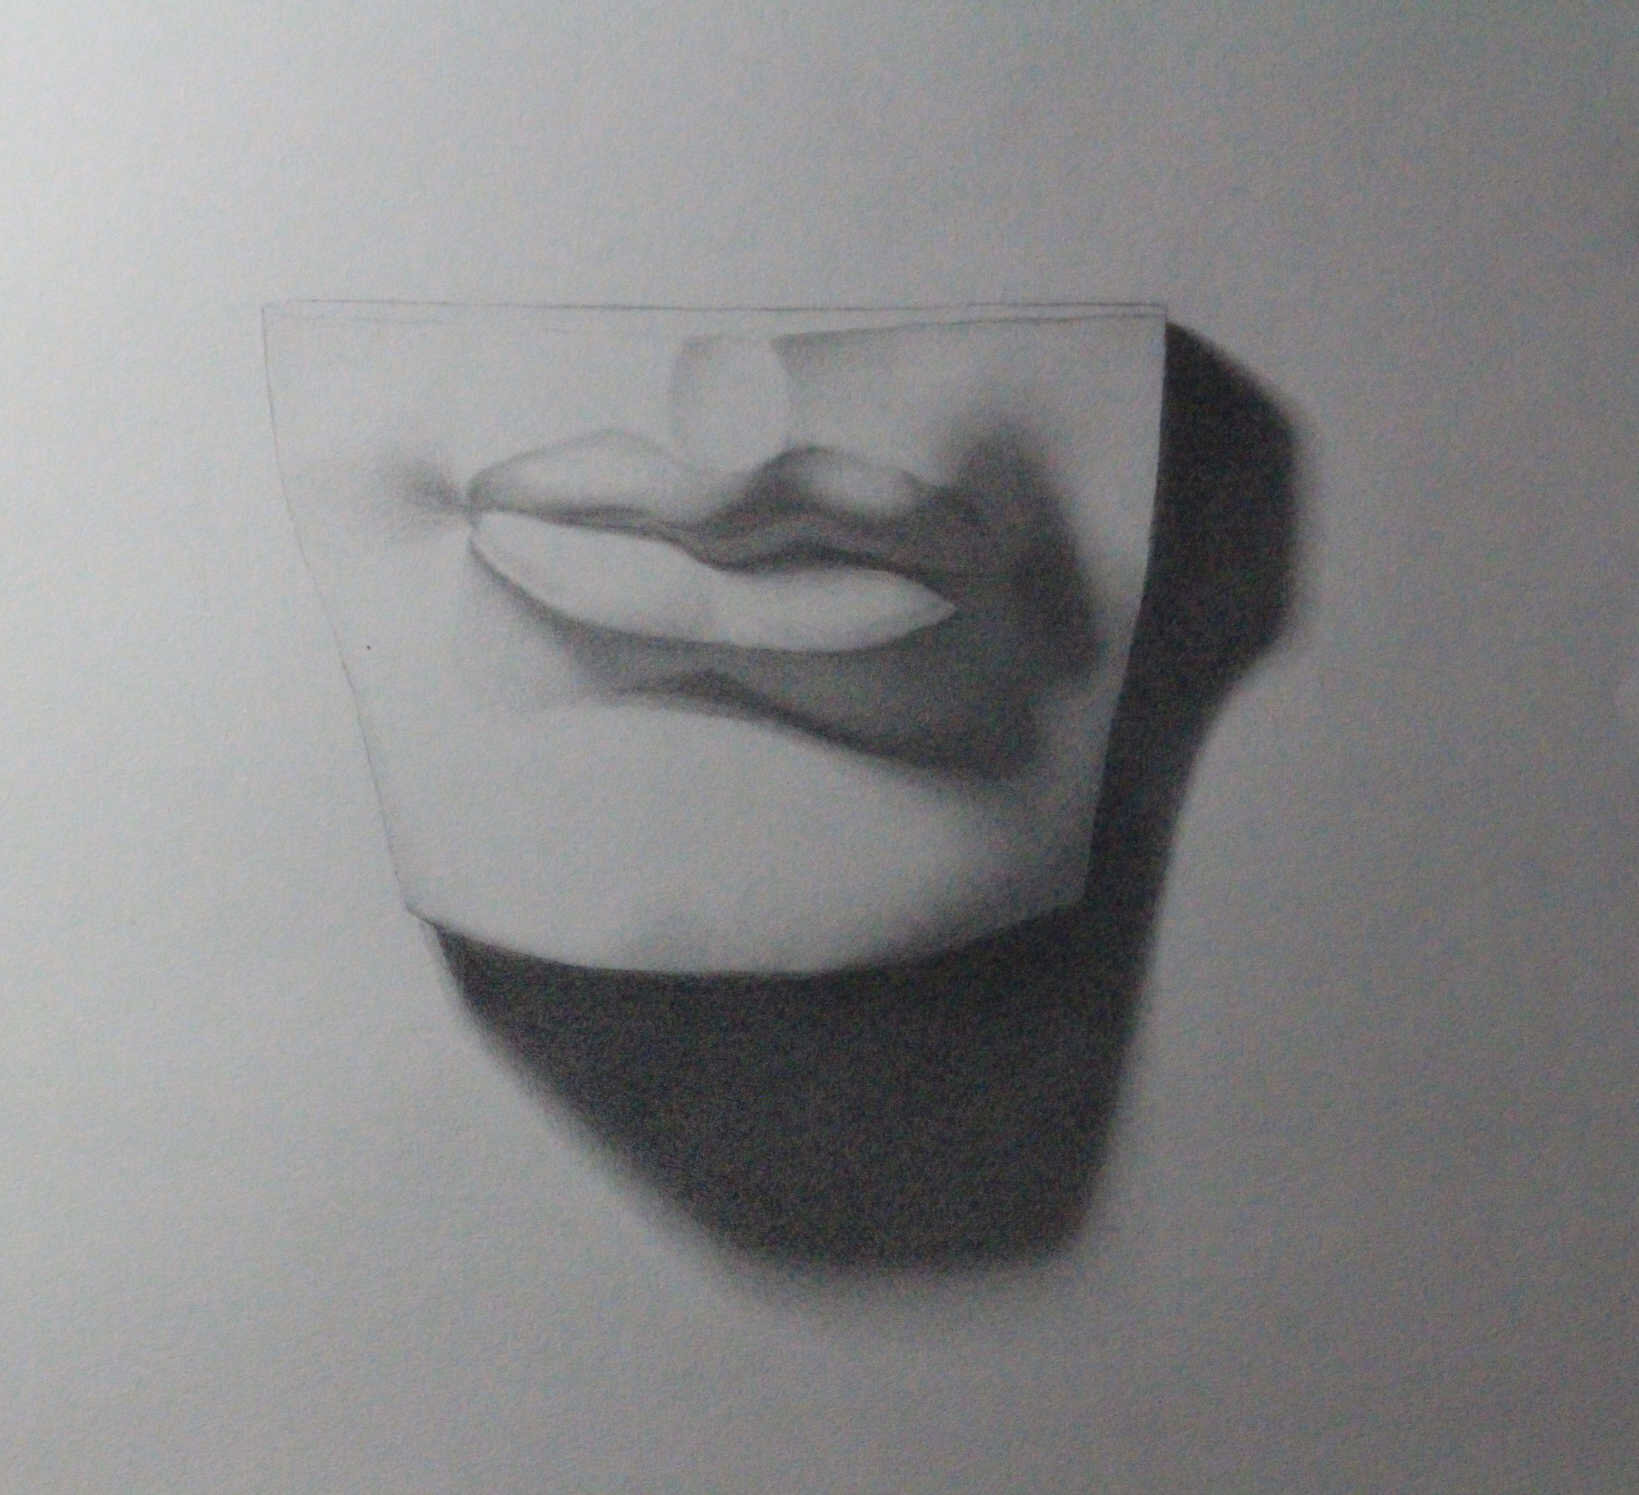
Sketching is the work of transferring what you see to paper, so it cultivates the "power to see" as a painter.
If you can't draw the shape you want in your head, you probably can't paint.
What should I paint? This is a typical next question.
Anything is fine (shoes, fruits, plates, pillows, gloves, bags, or anything).
You'll be surprised after several months if you sketch one item per day, even if you only have 10 minutes to spare.
There is no need to draw the subject in detail.
The training here is to transfer the 3D world items into a 2D paper surface.
Once you get used to it, you can add light and dark.
One pencil will do.
You can fill in the shadows.
I like The Leonardo da Vinci Sketchbook.
Basic Knowledge 2: Value (Black & White)
Paint in Black and White scale in the beginning
Painting in harmonious colors for beginners is unexpectedly complex.
It is the same as a person who has never experienced juggling to make a successful six-ball juggling on a stage.
Practicing with black and white paint is like teaching yourself how to juggle two balls.
You can mix paintings or buy gray tube paints to get the Grayscales.
Numbers 0 to 10 are assigned, number 10 is the white state of the paint, and number 0 is the black state of the paint.
You can use burnt umber, ultramarine, and titanium white instead of black and white to reach a warm feeling scale.
While there are many oil painting techniques, I will briefly explain two of them.
Direct Painting
There are many other ways to express the word "direct painting," such as Ala Prima and wet-on-wet.
This painting technique means you'll complete the painting before the paint is dry on canvas.
In the case of direct painting, it often takes half a day to a day to complete a 6 x 8 inches small painting.
So beginners tend to prefer direct painting.
Most of the 3-day workshops are direct paintings.
Indirect painting
The other technique is "indirect painting," a method of painting in layers on top of each other.
There are many layers of paint for indirect painting, and if the lower layer does not dry, you cannot proceed to the following layers.
So some painters have spent months or years depending on the work.
The workshop will most likely be six weeks of once per week class.
It may seem challenging to take that long, but indirect painting is more suitable for beginners.
Indirect painting is like solving complex problems layer by layer.
The underpainting focus on the proportions and compositions, and the value (black-and-white layer) pays attention only to light and dark. Finally, you can focus only on the colors in the color layers.
Basic Knowledge 3: Color
Study Colors
I like the Munsell color system best.
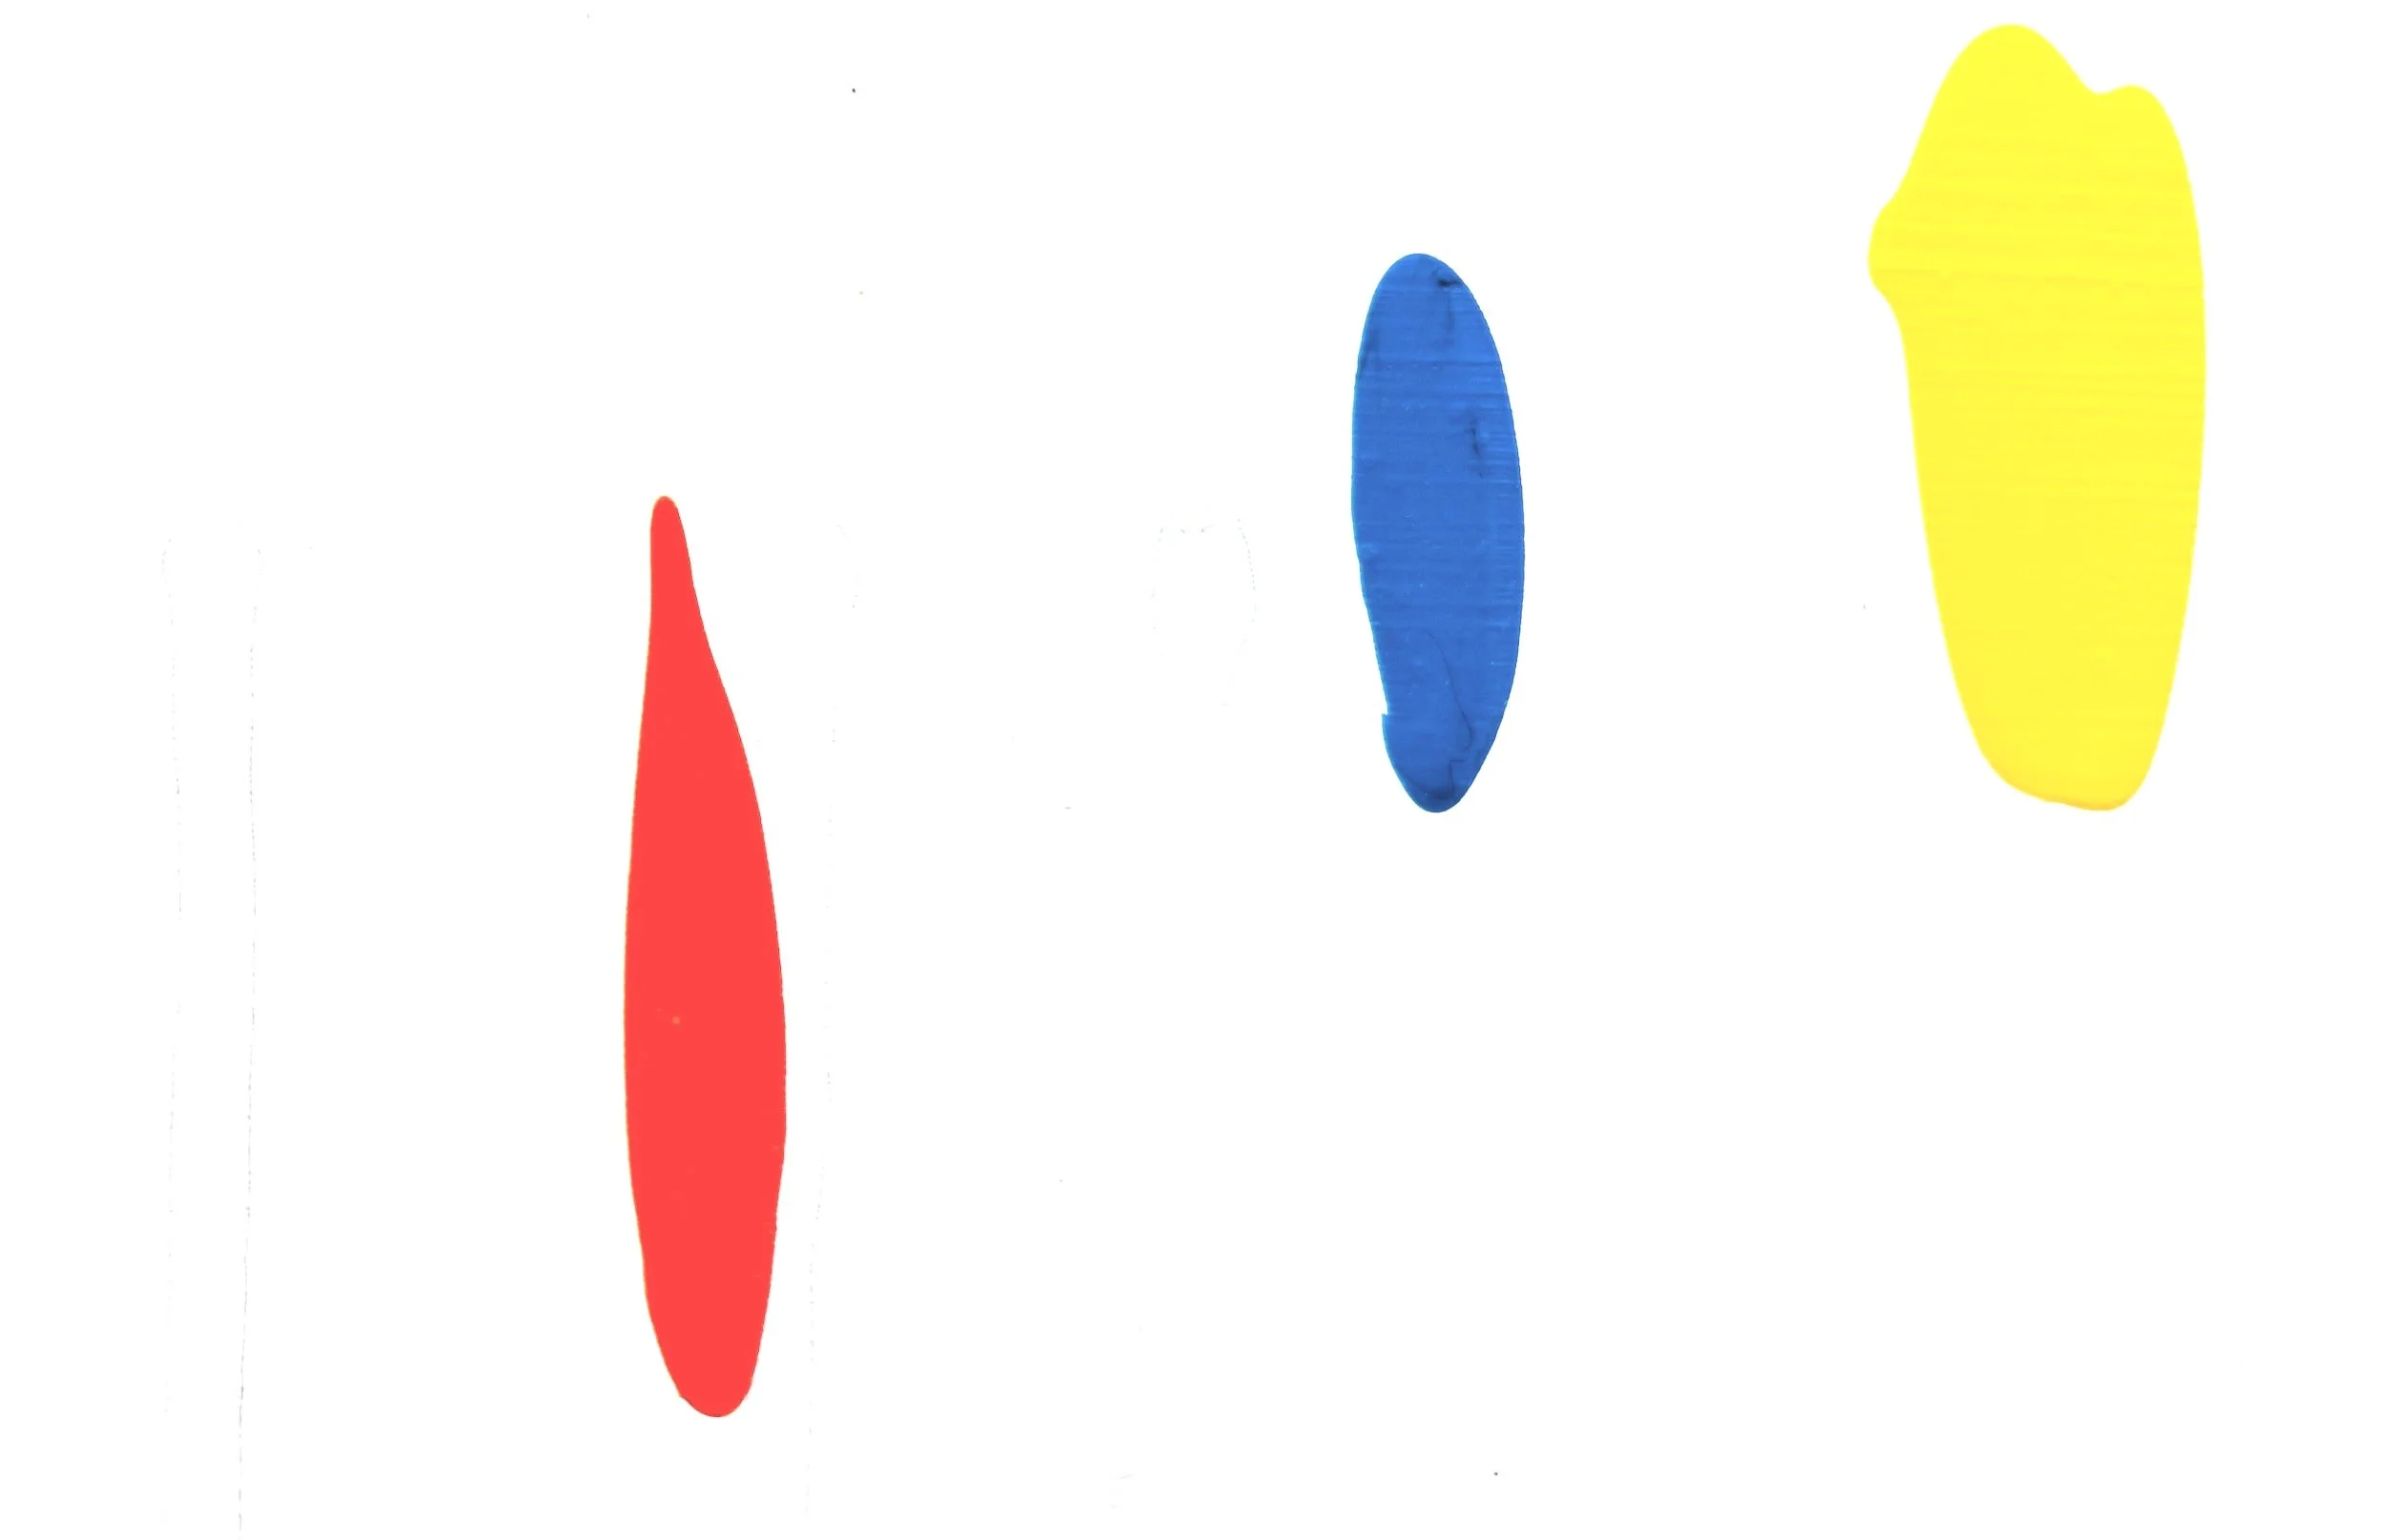
Color has three characteristics.
Each is called
Hue
Intensity or Saturation
Value
Hue is
the "color" we recognize as red, blue, yellow, green, and purple.
Intensity or Saturation is
how vivid the color is.
For example, some reds are very bright, while others are pretty dull.
Also, compared to the brightest yellow and the brightest blue, yellow looks more vivid than blue, doesn't it?
Value is
the degree of brightness.
You can use a black and white scale to tell.
You can take a picture of color chips with a black and white scale as a background with your mobile phone camera.
Then press the black and white feature of the photo.
When the photo turns black and white, it's easy to see how bright the chips (colors) are.
If you train your eyes, you will immediately see that "this red is about five brightness as expressed in the Munsel chart" even without a camera.
Oil Painting Tips & Knowledge Summary
As shown above,
the seven oil painting tips to improve your paintings are:
1 Set a goal
2 Find a mentor
3 Quantity wins
4 Paint every motif
5 Don't lose your curiosity
6 Don't compare yourself to others
7 Take breaks

